When it comes to maintaining your septic system, ensuring everything is in proper working order is crucial for avoiding costly issues down the line.
Imagine having a simple checklist that could help you prevent major septic tank mishaps. By following these ten DIY inspection items, you can safeguard your septic tank's functionality and longevity.
But what are the key components you should focus on to keep your septic system running smoothly?
Key Takeaways
- Check access points, lids, and seals for damage to maintain system efficiency.
- Monitor water accumulation near the tank and signs of drain field issues.
- Regularly inspect pipes for leaks and address maintenance promptly.
- Assess scum layer thickness, tank integrity, age, and maintenance history for optimal functioning.
Locate Septic Tank Access Points

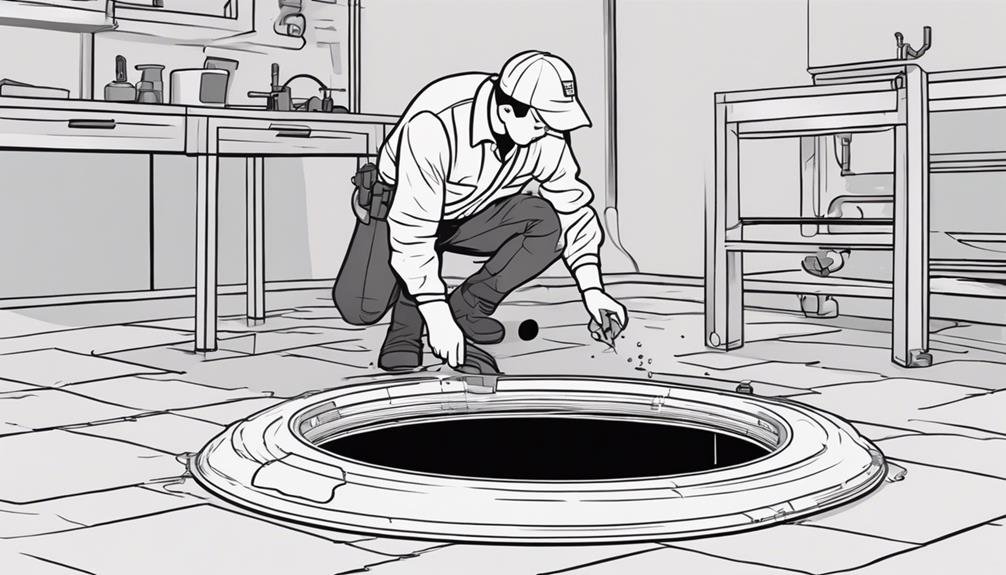
To begin the septic tank inspection process, carefully locate the access points on your property. Access point identification is crucial for the maintenance of your septic system. Start by finding where the tank is buried; search for manhole covers or risers slightly above ground level. Once located, ensure these access points are easily reachable and not obstructed by vegetation or debris. Regular maintenance requires these points to be visible and accessible.
Proper lid sealing techniques are essential to prevent leaks and odors. Inspect the lids for cracks, warping, or signs of deterioration. If the seals are damaged, replace them promptly to maintain the integrity of the system. Tighten any loose bolts and ensure a secure fit to prevent any unwanted entry of debris or groundwater into the tank.
2. Check for Surface Water Near Tank
Inspect the area around your septic tank for any signs of surface water accumulation. This could indicate issues with the tank or its drainage system.
Evaluate the drainage system thoroughly to ensure proper functionality and prevent potential problems.
Water Accumulation Risks
Check for any signs of water accumulation near the septic tank to identify potential risks. When inspecting water accumulation risks around your septic tank, consider the following:
- Pooling Water: Look for any stagnant water collecting near the tank, as this could indicate a drainage issue.
- Soil Saturation: Check the ground around the tank for excessively wet or soggy areas, which may suggest a leak or overflow problem.
- Vegetation Growth: Keep an eye out for unusually lush vegetation near the septic tank, as this could signal excess water seepage affecting plant growth.
Regularly monitoring and addressing water accumulation risks is crucial for preventative maintenance and groundwater protection. If you notice any of these signs, further investigation or professional assistance may be necessary.
Drainage System Evaluation
When evaluating the drainage system near your septic tank, your focus should be on identifying any surface water accumulation that could indicate potential issues.
Proper drainage system maintenance is crucial to prevent water from pooling near the tank, which can lead to system overload or leakage. Check for signs of waterlogged areas, especially after heavy rainfall, as this may suggest a problem with the drainage.
Implementing preventative maintenance strategies such as ensuring proper grading and redirecting gutter downspouts away from the tank can help prevent surface water from causing damage.
Regularly monitoring and addressing any drainage issues promptly can prolong the life of your septic system and minimize the risk of costly repairs.
3. Inspect Tank Lid for Damage

Inspect the tank lid thoroughly for any signs of damage, such as cracks, chips, or deterioration.
If you notice any issues, consider repairing or replacing the lid to ensure proper functionality and prevent potential leaks.
Remember that a damaged lid can compromise the integrity of your septic system, so addressing it promptly is crucial for maintenance.
Lid Condition Check
Ensure the tank lid is securely in place before proceeding with the inspection. When checking the lid condition, pay attention to the following:
- Inspect for Cracks: Look closely for any visible cracks on the lid surface.
- Check for Rust: Check for any signs of rust on the lid hinges or handles.
- Ensure Proper Seal: Make sure the lid forms a tight seal when closed to prevent leaks and odors.
Regular lid maintenance and inspection are crucial to ensure the septic tank functions efficiently. If you notice significant damage during the inspection, consider lid replacement or upgrade to maintain the integrity of your septic system.
Repair or Replace
To determine whether the tank lid requires repair or replacement, carefully assess its structural integrity and functionality. Inspect for cracks, rust, or any signs of deterioration that may compromise its ability to seal the tank properly. If minor damage is present, consider repair options such as sealing cracks with epoxy or replacing faulty hinges.
Regular maintenance tips include keeping the lid clear of heavy objects to prevent stress on the hinges and ensuring it remains properly aligned for a tight seal. If the lid shows extensive damage or is beyond repair, replacing it with a new, sturdy lid is crucial to maintaining the septic system's efficiency. Prioritize the lid's condition to prevent future issues with your septic tank system.
4. Examine Inlet and Outlet Pipes
Upon close examination of your septic system, take note of the condition and positioning of the inlet and outlet pipes. Proper maintenance of these pipes is crucial for the efficient operation of your septic tank. Here are some key points to consider:
- Pipe Corrosion Assessment: Inspect the pipes for any signs of corrosion, such as rust or deterioration. Corrosion can weaken the pipes, leading to leaks and potential system failure.
- Leakage Detection Techniques: Look for any damp or soggy areas around the pipes, which could indicate leaks. You can also use dye testing to check for leaks – simply add dye to the system and see if it appears outside the pipes.
Regularly examining the inlet and outlet pipes will help you catch any issues early on, preventing costly repairs down the line. By staying vigilant and addressing any issues promptly, you can ensure the longevity and effectiveness of your septic system.
5. Test the Tank for Leaks

Begin by conducting a thorough inspection of the septic tank to detect any signs of leaks. To identify leaks, employ various leak detection methods such as checking for unusually lush grass or pooling water around the tank area, which could indicate a leak.
Additionally, perform a dye test by flushing dye down the toilet and monitoring if it appears in the tank, revealing potential leakage points. If leaks are discovered, swift action is crucial. Repair options range from simple fixes like tightening loose fittings to more complex solutions such as patching cracks or replacing damaged components. Ignoring leaks can lead to severe consequences, including groundwater contamination and harm to the ecosystem.
The environmental impact of septic tank leaks is significant, as leaks can introduce harmful bacteria and chemicals into the soil and nearby water sources, posing health risks to humans and wildlife. Regularly testing the tank for leaks is essential to prevent environmental damage and ensure the proper functioning of your septic system.
6. Measure Sludge and Scum Levels
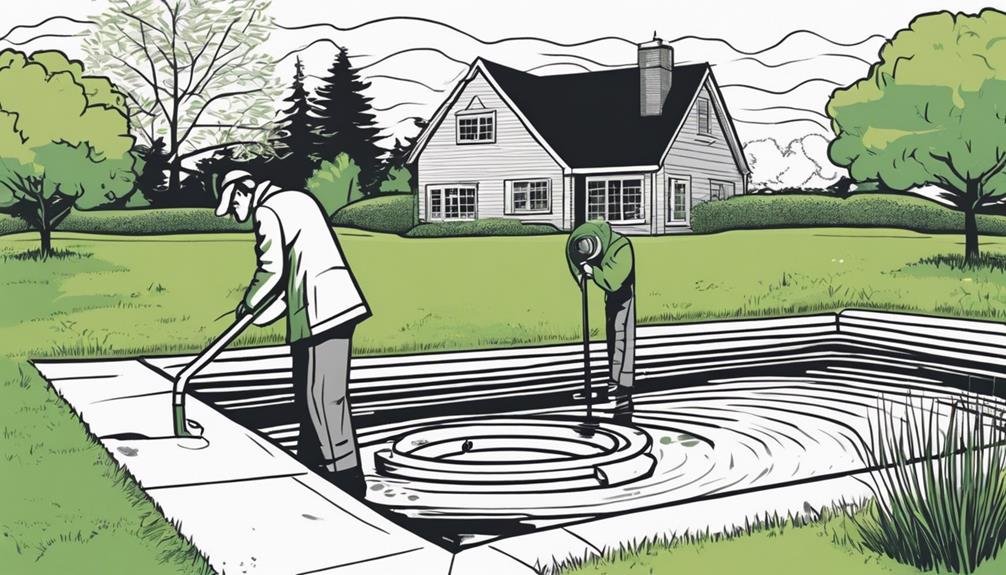
To properly assess your septic tank's condition, begin by measuring the sludge depth and evaluating the scum layer present. Use a long stick or a dedicated tool to gauge the sludge level, noting any accumulation at the tank's bottom.
Next, inspect the scum layer, which floats on top, to determine if it exceeds recommended levels and requires professional attention.
Sludge Depth Evaluation
When determining the sludge depth in your septic tank, start by using a measuring tool to assess the levels of both sludge and scum present. Here are some steps to help you with the sludge depth analysis:
- Insert the measuring tool vertically into the tank until it reaches the bottom layer.
- Record the depth of the sludge layer.
- Repeat the process for the scum layer to have a comprehensive understanding of your septic tank's current state.
Regularly performing these assessments is crucial for effective septic tank maintenance. By staying proactive, you can prevent issues before they escalate, ensuring your septic system operates smoothly.
Scum Layer Assessment
How can you accurately assess the scum layer levels in your septic tank to ensure effective maintenance?
To measure the scum layer thickness, use a septic tank inspection tool or a slotted PVC pipe. Insert the tool into the tank until it touches the scum layer, then mark the level on the tool and measure it.
The scum layer composition is typically made up of oils, grease, and floating solids. By understanding the scum layer composition, you can determine if there are any issues with excessive fats or oils accumulating in the tank.
Regularly checking the scum layer thickness and composition allows you to schedule timely pump-outs and prevent potential septic system problems.
7. Look for Signs of Drain Field Issues

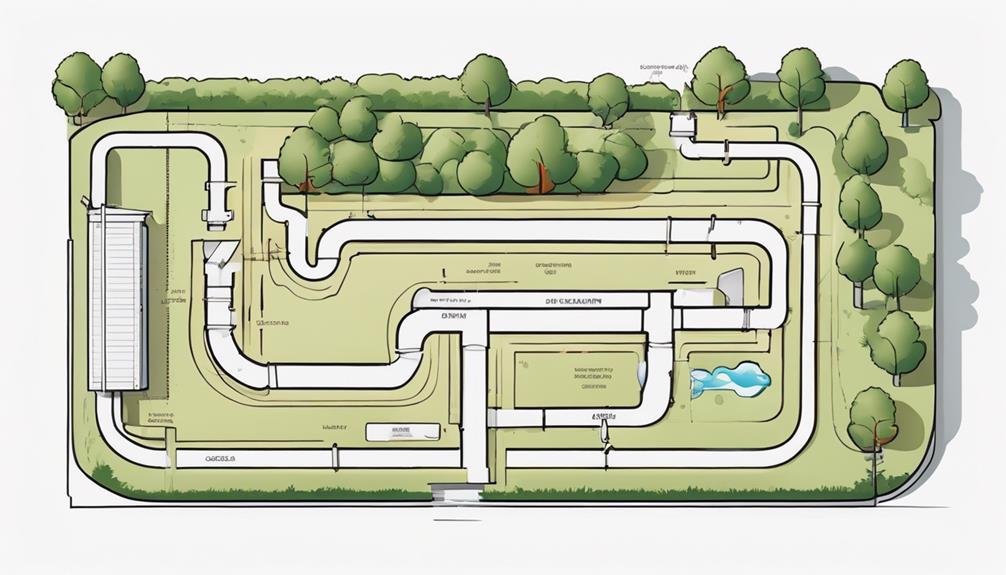
Inspect the drain field for any noticeable signs of issues such as pooling water, foul odors, or overly lush vegetation. This step is crucial in identifying potential problems related to drain field saturation or signs of septic system failure. Here are key indicators to look for:
- Pooling Water: Check for any areas in the drain field where water is collecting on the surface rather than percolating into the ground. This could signify a blockage or saturation issue.
- Foul Odors: Pay attention to any unpleasant smells coming from the drain field area. Foul odors may indicate a problem with the septic system not functioning correctly.
- Overly Lush Vegetation: Look for areas with unusually green and lush vegetation compared to the surrounding area. This could be a sign of leaking sewage enriching the soil with nutrients.
8. Check the Tank's Structural Integrity
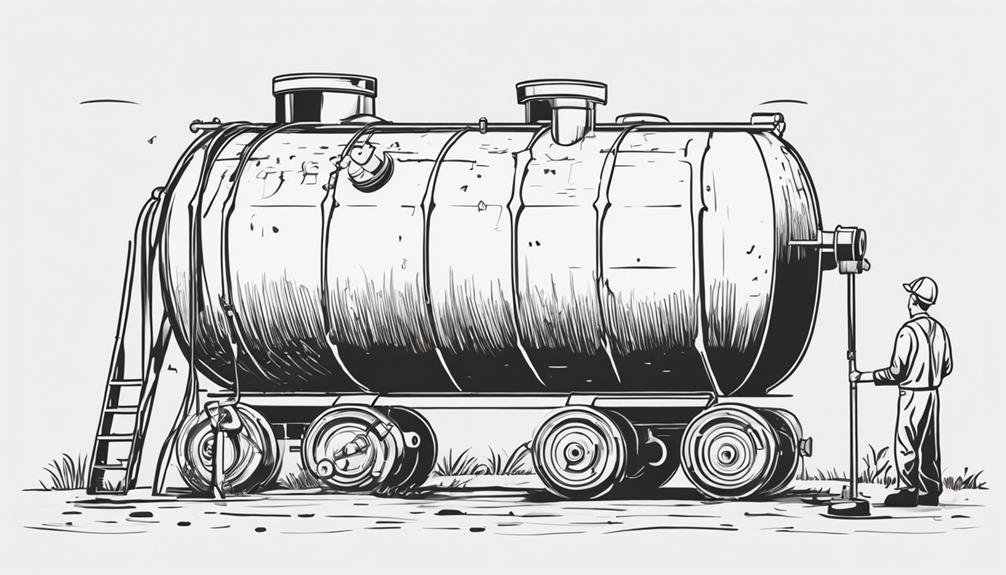
Assess the tank's structural integrity by examining its walls and base for any cracks, leaks, or signs of deterioration. Look closely at the tank's material composition to determine its corrosion risk.
Tanks made of concrete might show signs of deterioration like cracks or leaks, while plastic tanks could have visible damage due to age or external factors. Conduct a soil stability assessment around the tank to ensure it isn't compromised, which could lead to structural issues or collapses.
Keep an eye out for groundwater contamination, as any leaks or cracks in the tank could allow harmful substances to seep into the surrounding soil and water sources. Understanding the tank's material composition is crucial in assessing its durability and potential risks.
Regular inspections focusing on structural integrity can help prevent costly repairs or environmental damage down the line.
9. Assess the Tank's Age and Maintenance

To gauge the condition of your septic tank thoroughly, you should now evaluate its age and maintenance history. This step is crucial in understanding the potential issues your septic system may face in the future.
- Assessing tank capacity: Determine the size of your septic tank to ensure it meets the needs of your household. If the tank is too small, it can lead to frequent backups and overflows.
- Evaluating maintenance history: Review past maintenance records to see if the tank has been regularly pumped and inspected. A well-maintained septic tank is less likely to experience problems.
- Checking for signs of aging: Look for any visible signs of aging such as rust, corrosion, or cracks on the tank's surface. These signs can indicate the need for repairs or even a replacement.
10. Document Findings and Schedule Pumping
After completing your inspection, it's essential to carefully document all your findings and promptly schedule a septic tank pumping service. Start by creating a detailed inspection report outlining any issues observed during the assessment. Include recommendations for maintenance or repairs based on the condition of the tank and its components. Proper documentation ensures that you have a clear record of the septic system's current state and any necessary actions to be taken.
When scheduling a septic tank pumping service, consider the recommended pumping frequency based on the tank size and household usage. Most experts suggest pumping every 3 to 5 years, but this can vary depending on individual circumstances. Regular maintenance is crucial to prevent backups, odors, and system failures. By adhering to a consistent pumping schedule, you can prolong the lifespan of your septic system and avoid costly repairs in the future.
Frequently Asked Questions
Can I Use a DIY Septic Tank Inspection Checklist to Replace Professional Septic Tank Inspections?
You can supplement professional septic tank inspections with a DIY checklist. DIY inspection accuracy helps you stay informed about your system's health between professional visits. However, professional inspections provide expertise and thoroughness that DIY checks may lack.
How Often Should I Perform a DIY Septic Tank Inspection?
Perform a DIY septic tank inspection every 6-12 months. Check for leaks, odors, and slow drains. Pump your tank every 3-5 years. Avoid flushing non-biodegradable items. Maintain proper bacterial balance with septic-safe products.
What Are the Potential Consequences of Neglecting Septic Tank Maintenance?
Neglecting septic tank maintenance is like ignoring a ticking time bomb. Environmental impact from leaks, health risks from contamination, property damage, and costly repairs are just waiting to happen. Stay vigilant, protect your home.
How Can I Prevent Damage to My Septic Tank Lid?
To prevent damage to your septic tank lid, regularly inspect for cracks, make sure it's securely fastened, and avoid heavy objects on top. These preventive measures can help maintain the lid's integrity and protect your system.
Are There Any Specific Warning Signs to Look Out for During a Septic Tank Inspection That May Indicate a More Serious Issue?
When inspecting your septic tank, keep an eye out for common warning signs like foul odors, slow drains, or lush grass near the drain field. These indicators could signal potential issues that require further investigation.
Conclusion
Congratulations on completing the DIY septic tank inspection checklist! By following these steps, you have become a septic system expert in no time.
You now possess the skills to ensure your septic tank is functioning properly and avoid costly repairs in the future.
Keep up the great work and remember, a well-maintained septic system is the key to a happy home!

